
Publishing EPiServer CMS 5 From Visual Studio 2008
As an experienced Visual Studio developer I have been really impressed with how easy it has been to make rapid progress whilst developing our own EPiServer site. After attending the E2550 - Developing with EPiServer CMS 5 course in London recently I felt empowered to get stuck in and found few problems putting in place my own templates and site structures. However, when I decided to publish my work before I went too far – just so I knew I wasn’t wasting my time – I found that, in my experience, Deploying from Development to Public sites wasn’t quite as easy as Daniel van den Tempel described and required a few extra steps. So this post is meant to cover those extra steps and complement Daniel’s original post.
In order to help others who might find themselves in the same situation as me I have decided to document the process that I followed in order to publish from my EPiServer SDK site to a working public site.
Setup
First of all some details about my setup.
Development
- EPiServer Project 5.2.375.236 (EPiServer CMS 5 R2 SP2)
- Visual Studio 2008 Service Pack 1
- Windows Vista 64 Enterprise Edition
Production Environment
- Windows Server 2003
- .Net 3.5
- IIS 6.0 – Ensure you have enabled the ASP.Net extensions to work
- SQL Server 2005 SP1
Setting Up The Production Environment
- Run the setup.exe which installs the Deployment Centre and install only the core files.
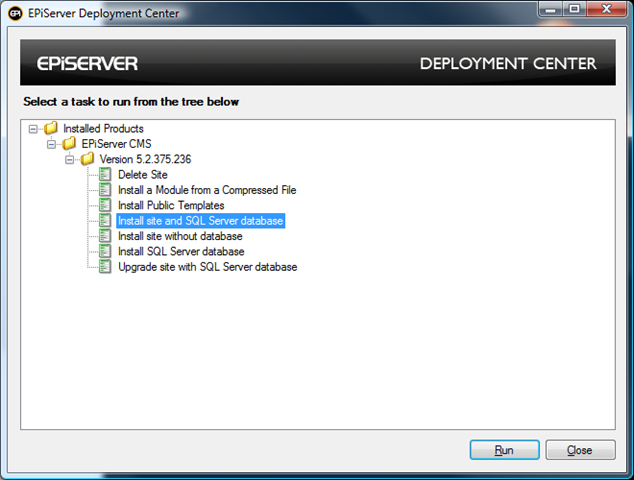
- Once the Deployment Centre installation is complete choose to install a Site and SQL Database. I installed my database on a separate server.
N.B. The location you choose to install your site to, i.e. c:\episerver\sites\mysite needs to be shared so that you can also publish to it from Visual Studio.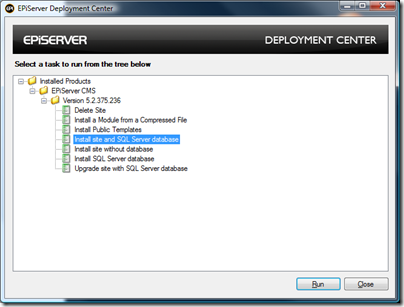
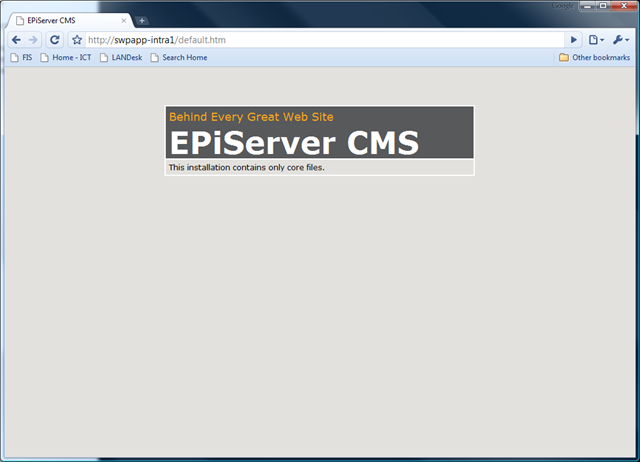
Following your installation browsing to your site should give you the following.
- You will also need to add your license.config to the folder where your site has been installed to at this point.
Publishing Your Site
I found it easier to tackle this in two stages once I eventually figured it out. Firstly to export/import my content from development to production and the secondly to publish my templates and make changes to the web.config on the server.
Export / Import Data
The first thing to ensure at this point is that you belong to the local administrators group on your server.
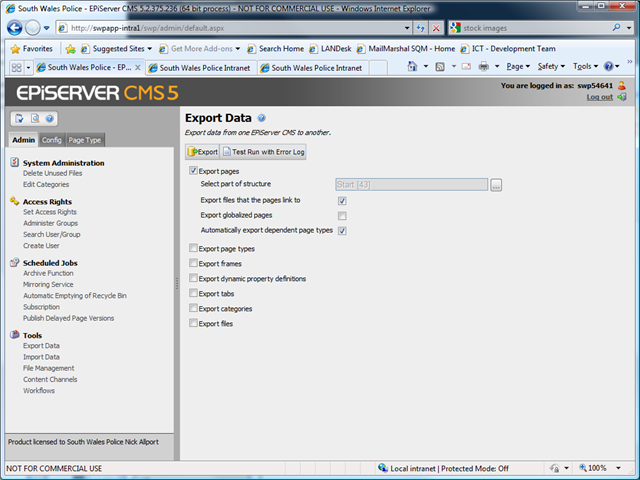
- Login in to the admin area of your development site and choose Admin – Tools – Export Data. From there select all of the options relevant to you. For ‘Select part of structure’ I have chosen my Start page so that I get all of the content beneath it exported.
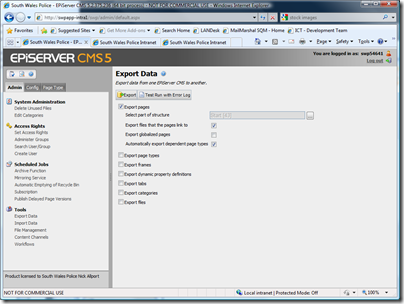
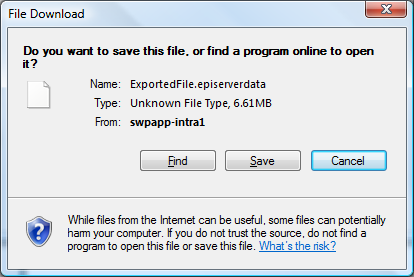
The next screen tells you how many pages have been exported etc and you can download and save the export to your chosen area ready for import to your production site.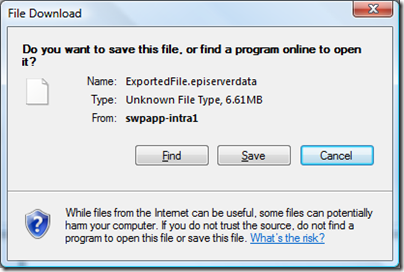
- Login in to the admin area of your production site and choose Admin – Tools – Import Data. The admin area is available at //admin">//admin">http://<yourdomain>/<yourui>/admin. Browse for your export file and select the page destination for your import. I selected the root of my site so that all of my content I exported will be under the root.
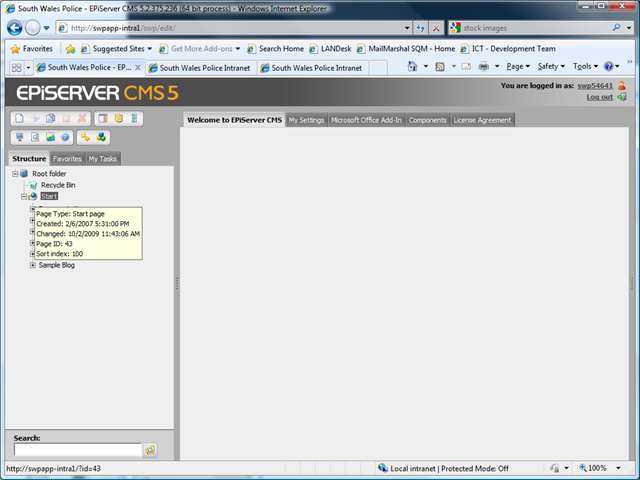
- Now switch to edit mode and all of your content should be listed under the root of the site matching your development site. Make a note of the new ID of your start page as you will need to set it in the web.config after publishing from Visual Studio.

Publish From Visual Studio
Now your content has been moved from the development site to the production site you need to publish your own templates so that content will work. At the moment none of your site will work as it is looking for page types that don’t exist.
Publishing is now exactly the same as the normal process for deploying a website from Visual Studio.
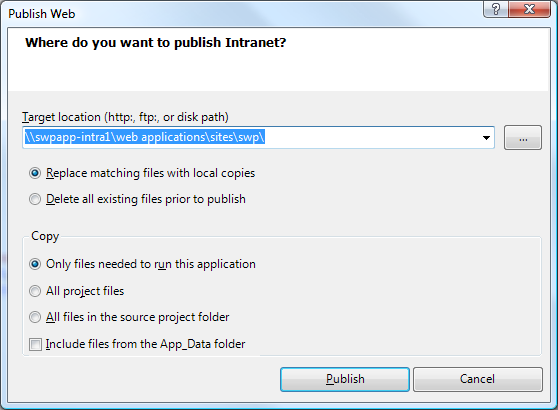
- Build your site in Release mode and choose Build – Publish and browse to the file share you deployed your site to on the server earlier.

- You will now need to locate the web.config in your production site and update the PageStartID to match the one you made a note of after Export / Import.
Your production site should now be fully working just as your development site. From what I can see the web.config will always need updating manually at the production site whenever you publish from Visual Studio. Assuming you’ve made any web.config changes that is.
Great blog post Nick. Thanks.
- Helen